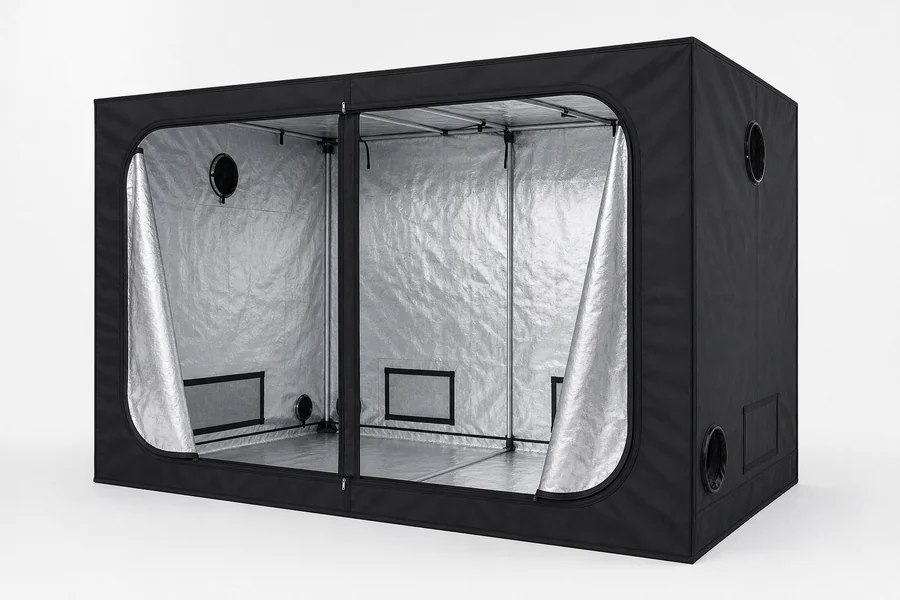
Setting up a Zazzy Grow Tent takes most growers between thirty and sixty minutes on a first build. The process is the same whether you own a 2x2 closet tent or a 4x8 multi-light room — steel poles click into three-way corners, the 600D Mylar shell drapes over the frame, and lightproof zippers seal the enclosure. This guide walks through each phase in order so you avoid the common mistakes: rushing the base square, skipping the floor tray, or forcing zippers before the canvas is seated.
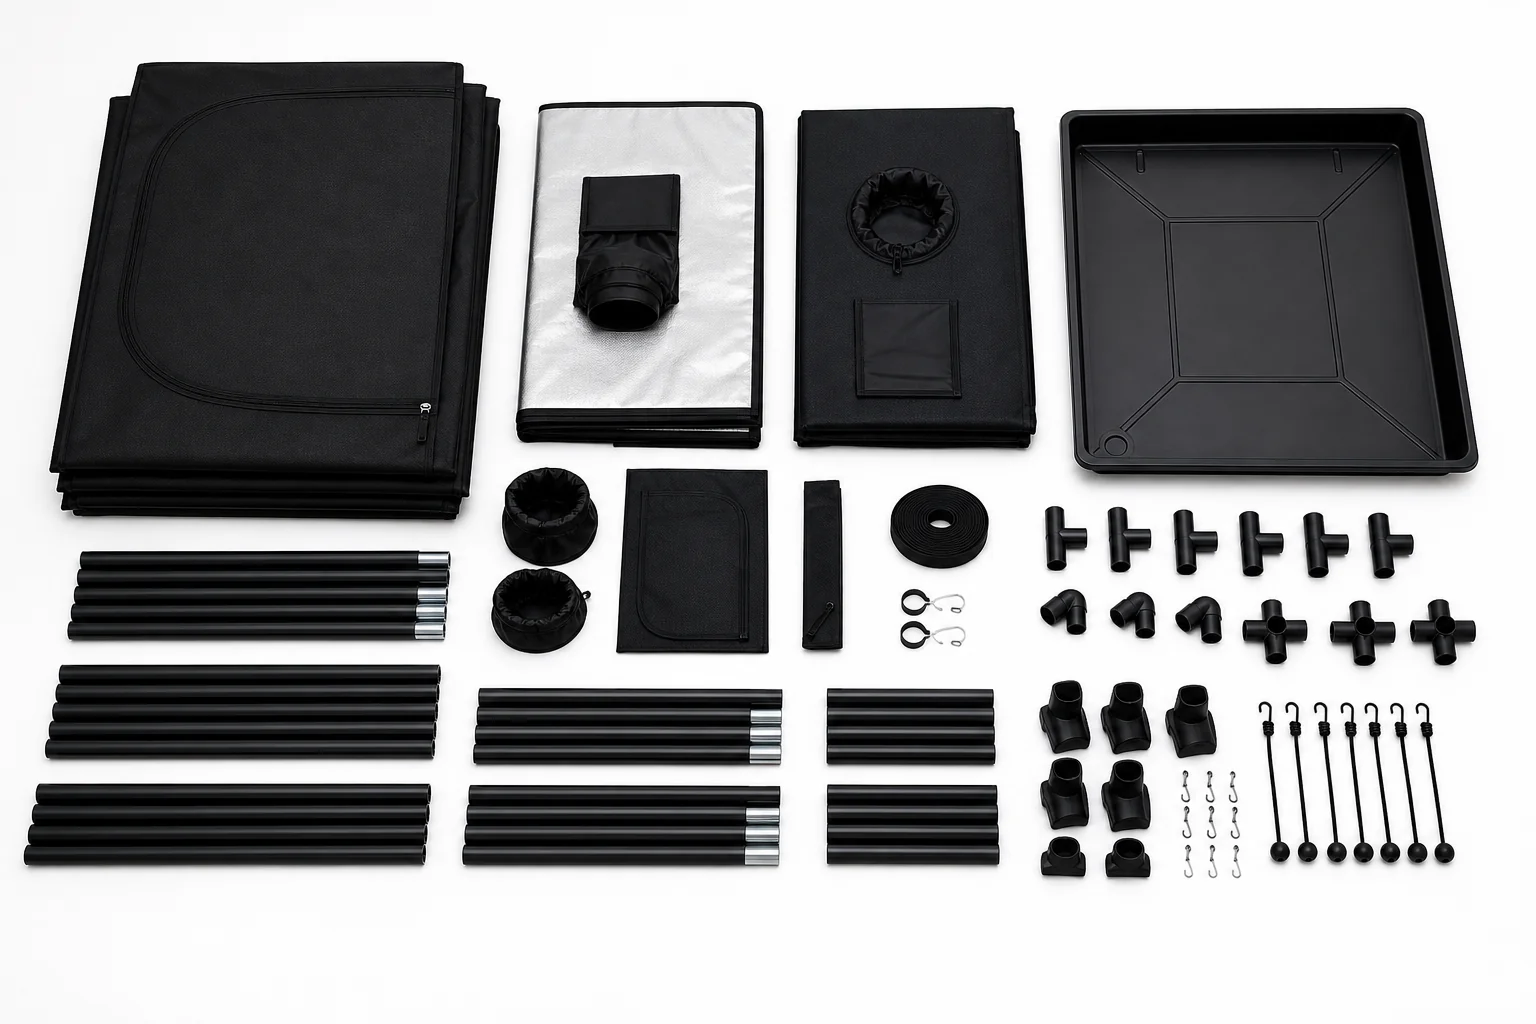
Before you start, clear floor space at least two feet wider than your tent footprint. Lay a tarp if you are assembling on carpet. Open the box, inventory every pole and connector against the parts list on our parts guide, and keep the tool bag within reach. A rubber mallet and a second pair of hands help on 4x4 and 4x8 builds, though solo assembly is absolutely doable with patience.
Unpack and inventory
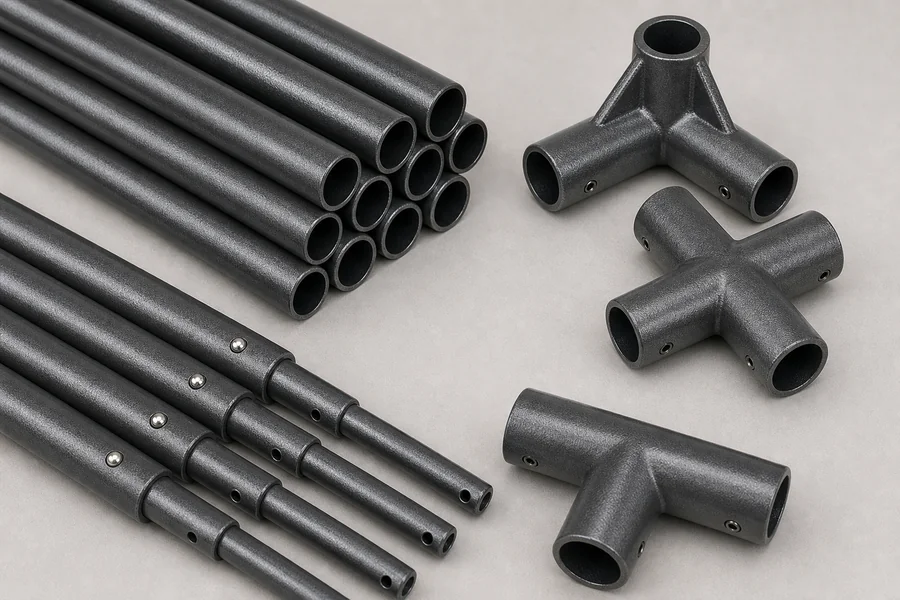
Slide the tent canvas out of its fabric sleeve first and hang it on a door hook so it does not crease on the floor. Separate long roof poles, vertical corner poles, and short base rails into labeled piles — they look similar but are not interchangeable on larger sizes. Count corner connectors; each Zazzy frame uses three-way metal joints with a push-button lock on one arm.
Check the accessory pouch for S-hooks, filter straps, and the removable floor tray. Confirm your observation window film is intact and that every zipper pull moves freely. If a pole arrives bent or a connector button sticks, contact the retailer before forcing parts together — a square base depends on straight steel from day one.
Photograph the layout diagram printed on the instruction sheet. You will reference pole orientation often during the first twenty minutes, especially when distinguishing upper cross-braces from lower perimeter rails on 4x8 tents.
Build the base frame
Start on the floor, not standing upright. Connect four base rails into a rectangle using corner connectors. On a 2x2 or 3x3 tent, the base is a single square. On 4x4 and 4x8 models, additional mid-span connectors appear along the long sides — match them to the diagram before pressing buttons.
Measure diagonals with a tape measure. When both diagonals match within half an inch, your base is square. Adjust corner connectors until they do. A twisted base telegraphs up the vertical poles and makes the Mylar shell pull unevenly, which is the number-one cause of zipper gaps later.
Insert vertical poles into each base corner. Do not fully lock the top buttons yet — leave them loose so you can nudge angles as cross-braces go in. On taller tents, brace the frame with a chair back so it does not tip while you work alone.
Add roof cross-braces
Roof poles form the upper rectangle that carries light hangers and inline fan straps. Slide each roof rail into the top opening of the vertical poles, then connect corners the same way you built the base. Zazzy frames use 110-lb-rated steel — adequate for LED panels, carbon filters, and small dehumidifiers when weight is distributed across two or more hang points.
For 4x4 and 4x8 tents, install the center roof cross-bar before locking corners. That bar prevents roof sag once equipment hangs. Tighten all push-button locks with a firm palm press; you should hear a clean click. Wiggle each joint — minimal play means you are ready for the canvas.
Optional but smart: attach S-hooks to roof poles now while access is open. Routing hang hardware after the shell is on is slower and risks snagging Mylar.
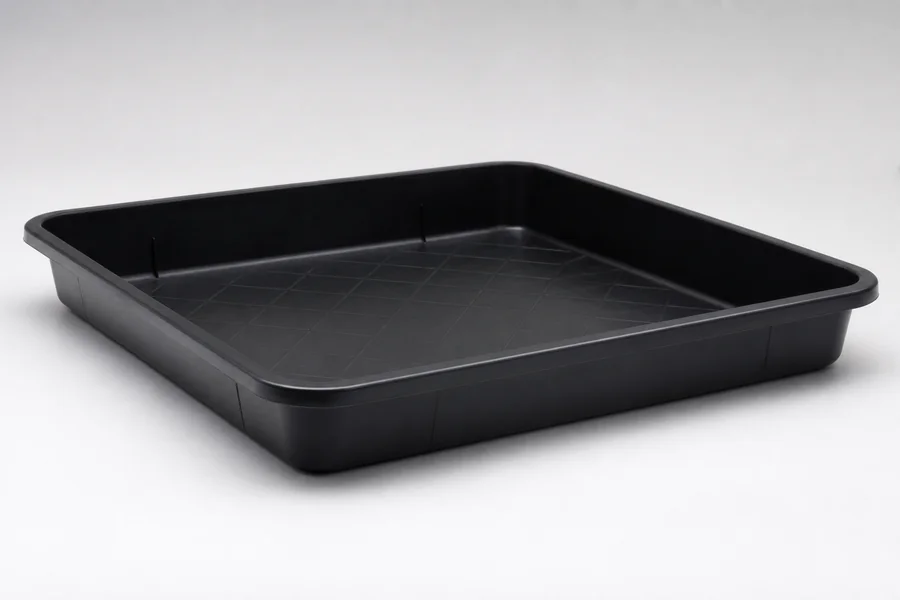
Install the floor tray
Drop the waterproof floor tray inside the base frame before draping the tent. The tray lip should sit flush against the inner edge of the base rails. On some sizes the tray corners tuck under vertical poles — follow your diagram so the lip is not pinched when the shell drops.
A seated tray catches nutrient runoff, stray soil, and condensation so your room floor stays clean. If you plan autofill reservoirs, confirm tubing paths before the tray is locked under the canvas — moving lines afterward means reopening zippers and disturbing a light-tight seal.
Wipe the tray with a damp cloth to remove factory dust. A clean surface makes later sanitizing between cycles faster and helps adhesive cable clips stick if you route sensors along the lip.
Drape the canvas shell
Lift the tent body over the frame like a box lid. Align the roof panel so ventilation flaps sit above the matching ports on the steel rectangle. Let the walls fall naturally — do not pull hard yet. The 600D Mylar interior is durable but sharp pole ends can scuff it if you drag instead of lift.
Feed each vertical pole through its fabric sleeve pocket, working corner to corner. On 4x8 tents, start at the observation-window side so you can see alignment through the flap. Seat the bottom hem over the base rails; most Zazzy models use a wrap-around skirt that clips or tucks under the tray lip.
Once the shell is on, step back and check that corner seams line up with steel joints. Adjust pole height slightly before tightening anything — small tweaks now save big zipper fights later.
Secure poles and corners
Work around the tent perimeter, pressing each pole pocket firmly so steel sits centered. Tighten any remaining push-button locks on vertical arms. The frame should feel rigid with only slight flex when you push a corner — that flex is normal and keeps the structure from transferring shock to connectors.
Pull the base skirt evenly so it overlaps the floor tray on all sides. Uneven skirts create light leaks at the bottom edge, which matters when you run supplemental lighting on a reverse schedule. Smooth wrinkles upward toward roof vents rather than sideways across the window panel.
If your model includes external support straps, clip them to the upper frame and anchor to wall studs or sturdy shelving — never to drywall alone. Straps reduce sway when inline fans ramp up.
Align the zippers
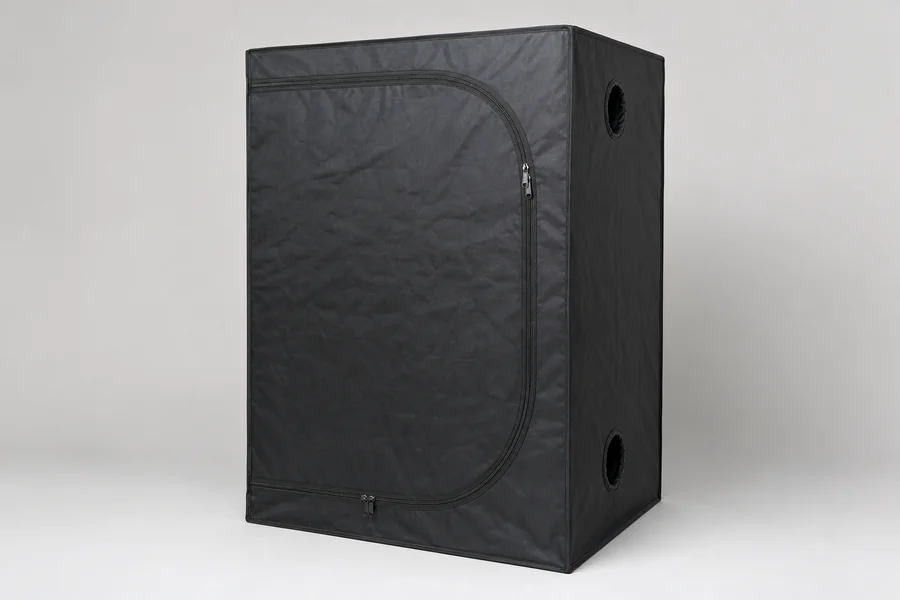
Zazzy tents use lightproof SBS zippers with overlapping storm flaps. Close the main door slowly from bottom to top, guiding the track so teeth mesh without catching Mylar folds. If resistance appears, back up six inches, flatten the fabric, and retry — forcing zippers is how growers tear reflective lining.
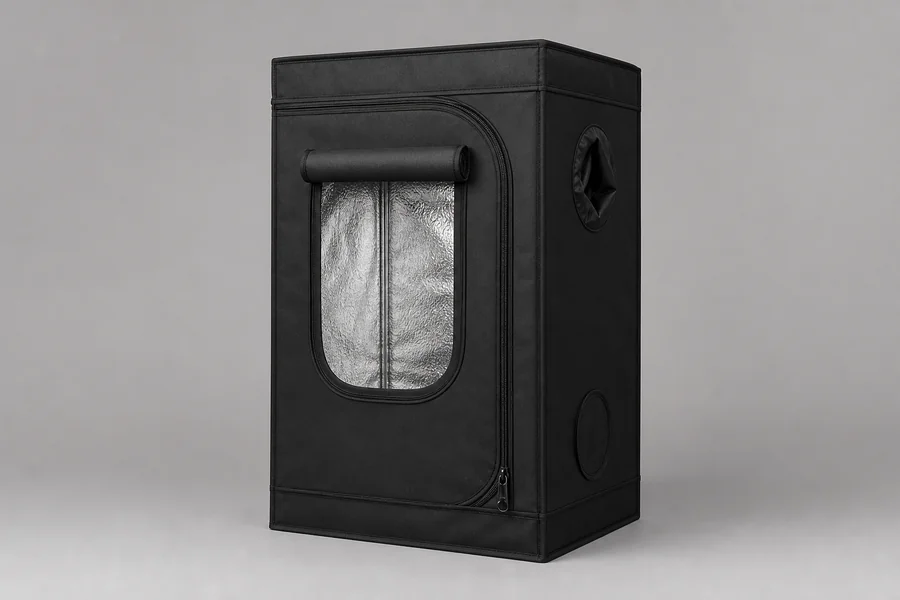
Test the observation window flap separately. Peel-and-stick viewing film should lie flat with no bubbles. Re-seat the flap cover and confirm no pinhole light enters when room lights are on outside. Repeat for the secondary access port if your size includes one.
Leave the door open while routing cords, then do a final zip test with lights off inside and on outside. A proper seal shows zero light bleed — the hallmark of a tent ready for flowering photoperiods.
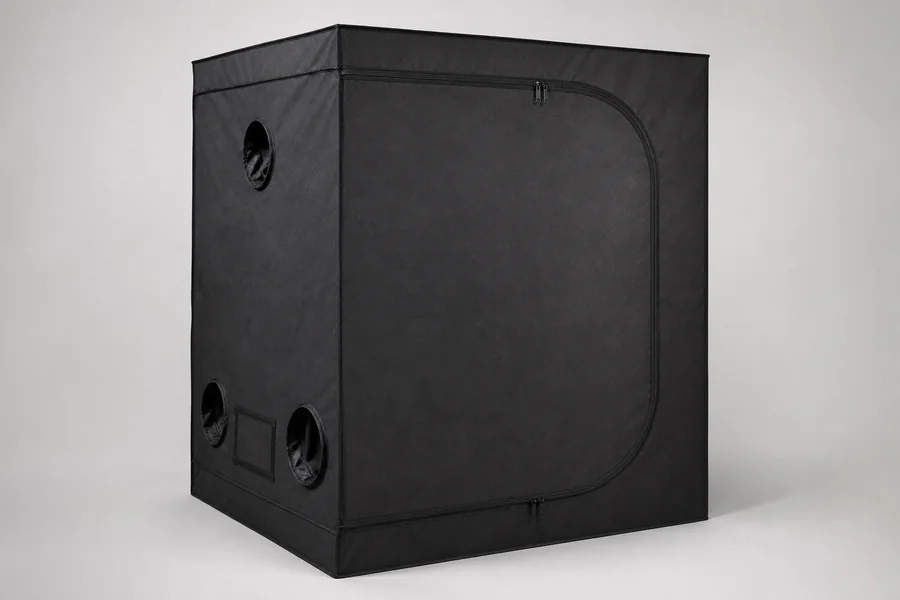
Mount ventilation ports
Each Zazzy tent ships with multiple double-sock vent ports — typically one high for exhaust and one low for passive intake. Unscrew the outer ring, pull the inner sock through the port hole, and tighten until the sock grips the flange without tearing stitching.
Run ducting through the sock with about two inches of overlap inside and outside the tent. Cinch the drawstring snug; loose socks leak odor and humidity. For inline fans, hang from roof bars using the included straps, orienting airflow so exhaust pulls warm air from the canopy top.
Seal unused ports with the provided covers. Open ports you are not actively ducting become accidental light and pest entry points. Label each port in a notebook so seasonal reconfiguration stays quick.
Hang lights and filters
Attach ratchet hangers to roof poles before loading weight. Raise your LED to the manufacturer’s recommended distance, then power on and check footprint coverage with a PAR map or lux meter. Center the fixture over the planned canopy zone, not merely the geometric center of the floor tray.
Mount carbon filters on the exhaust path with hose clamps rated for continuous vibration. Keep sharp bends out of duct runs — each ninety-degree turn costs airflow. Confirm the fan vibration does not rattle loose push-button locks; a weekly wiggle test during the first month catches drift early.
Route power cords through the designated cord port, not a vent sock. Bundle excess length outside the tent and label plugs so maintenance shutdowns are orderly.
Final inspection checklist
Walk the perimeter with a flashlight aimed from outside while you kneel inside in darkness. Patch any pinholes with interior-rated reflective tape. Re-check diagonal measurements at the base — seasonal humidity can shift poles slightly during the first week.
Confirm the 95% reflective Mylar faces inward with no outward-facing panels. Wipe fingerprints with a microfiber cloth; oils reduce reflectivity over time. Store leftover poles and the tool bag in the accessory pocket so tear-down stays organized.
Document your hang heights and fan speeds in a grow log. When you revisit this guide for a second tent or a tear-down between cycles, those notes cut setup time dramatically. For component details beyond assembly, see our parts guide and owner reviews on the homepage.